
Instructions
1. Remove all games from your Ds lite. Lift off it cover and remove the battery. Utilize tri-wing screwdriver to remove all six screws at the base with the system and take away the shell.
2. Release the black clamp for the system's board. Carefully get rid of the brass connector close to the middle of the system and disconnect the most notable hinge cover.
3. Remove the screws from the top area of the shell, while using Phillips screwdriver. Slide the flat screwdriver along the grove on the side of the shell and pull it apart. Push the wires with the small hole on the shell.
4. Remove all circuit boards and screw them onto the correct locations on the replacement shell. Replace the hinges. jklzaeqc 1122
5. Push the wires using it . hole about the new shell. Connect them and press down on the black clamp. Ensure everything is lined up properly and re-connect the shells.
The way to Affect the Shell of a DS
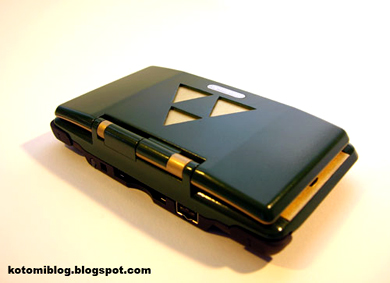
The outer ds case on your own Nintendo ds lite handheld game console protects its internal components. But when you would like to customize the feel of your DS, you can get rid of the case and change it out with one of a different color or design. Since the DS has both lower and upper parts, take away the case from all of these two areas of it.
Instructions
1. Let down your DS and close the top screen. Turn the system over.
2. Eliminate the single screw about the battery door within the back on the DS. Take away the battery door so get rid of the battery.
3. Remove all screws for the back of the DS and hang up them aside.
4. Lift the trunk ds cases on the DS off f the system to expose the principle plug-in inside.
5. Fit a new case above the rear on the unit and replace the screws.
6. Turn the DS right-side up and open the screen. Get rid of the the two screws on either side in the screen.
7. Insert the end of your ds case ( http://www.vdealbox.com/ds-accessories/ds-housing-shell-case.html )opener tool from the seam the spot that the top case on the DS meets the screen. Come around the sides before case pops off.
8. Fit a fresh case outrageous from the DS and replace the screws close to the screen.
No comments:
Post a Comment